
Note: staff-provided content does not represent an official statement from FARGOS Development, LLC. The policy on staff-authored content can be found here.
Go back to Geoff's home page.
I was willed one of the Arrott heirlooms, an approximately 130-year-old bracket clock made by Andrew Barrie of Edinburgh, Scotland. The registration mark is dated August 20, 1883, but that is not the same as its date of manufacture. The clock is approximately 16 inches wide at its base, 13 inches deep and 28 inches tall (which corresponds approximately to 40 cm by 33 cm by 71 cm). It has three fusee and uses a pendulum to keep consistent time. While the clock was treated as a precious family asset, there was no denying it had been around for many years and more than a century of use had taken its toll on the wood, glue, brass and clock mechanism. I had planned for many years to get around to restoring it to full working order and attractiveness and the great shutdown of 2020 finally provided an opportunity.
The most obvious issue was the discoloration of the brass; parts had turned nearly black both due to time as well as some very unfortunate contact with Brasso polish (the thickness of Brasso might be perfectly fine on smooth surfaces but it seems to clog every concave surface in detailed brass work).
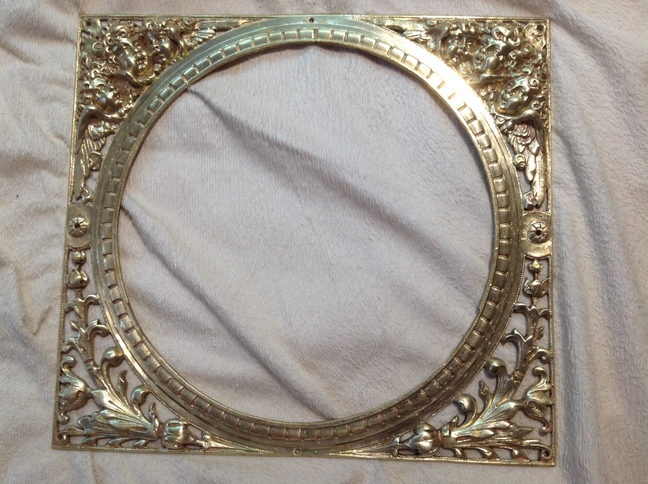
Front brass plate before and after cleaning:

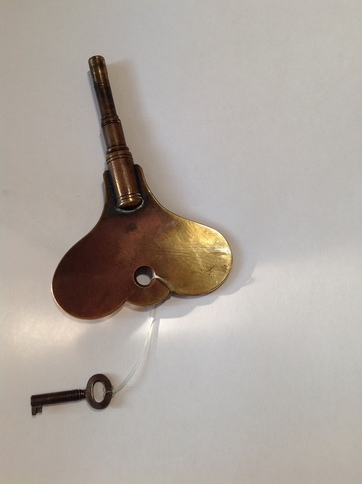
The clock's winding key before and after cleaning:

The core clock mechanism itself had collected some dust. One can make out at least 2 of the fusee wound with their respective chains (on both sides) and the deadbeat escapement:

The clock dial, being under glass, had suffered from the least amount of decay:

The most significant mechanical problem with the clock was that several of the hammers for the bells and chimes had frozen in place. This also caused several of the springs to lose tension due to having been under continual compression for at least a couple of decades. All of the hammer components needed to be removed from the clock, disassembled and cleaned individually. The hammer mounting block for the Westminster Quarters set appeared like this just after removal (before disassembly and cleaning):

The glue attaching several of the clock case panels as well as the pieces of its roof had ceased holding at some point over the many years, causing the wood pieces to fall off/come apart when the tension imposed by the outer brass framework was released.


The platform taking the weight of the clock internals had cracked due to flaws introduced by mistakes in the initial assembly. Was the attachment of the hidden base farmed out to an apprentice?

The detached trim pieces and clock case roof were re-glued:

The dried out wood was soaked with orange oil to help reduce additional splitting. After the orange oil had soaked in for several days, a protective paste wax was applied and buffed after it, too, had dried. A final coat of lemon oil was applied remove any inconsistent appearance in the protective wax coat.
The cleaning of the brass pieces was an interminable job, requiring at least 4 rounds minimum in an acid bath of lemon juice followed by scrubbing with Barkeeper's Friend Polish powder. Many pieces were worked on with combinations of scrub brushes, electric and manual tooth brushes, a WaterPik, #0000 steel wool, and a stainless steel pick. Final polishing was done with Wright's Brass Polish, which is both effective and perfect for the task due to its low viscosity and intentional ability to be rinsed away with water. Most of those tools are on display in picture below, which also shows the Wii Fit exercise mat that protected the bath tub from getting scratched by any heavy metal pieces during the weeks of cleaning that were required. Hopefully it did not give its life to the cause, but the jury is still out on that.

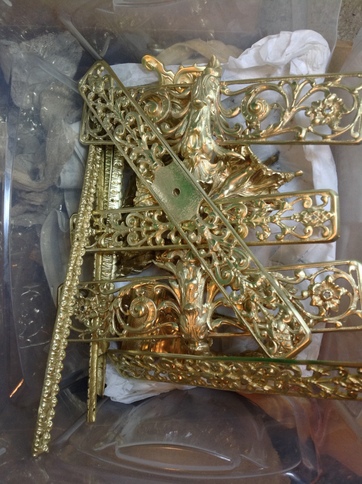
There were a ridiculous number of pieces that had to go through the process and my initial failure to wear gloves caused my finger prints to be erased by the acid. Given the imposition of mandatory mask usage, it could have raised some awkward questions if I had been out-and-about and stopped by the police. A portion of the cleaned pieces appear below:
As noted before, some of the original glue had dried up and caused several of wood pieces to fall off or come apart when the brass framework was removed. Those pieces had to be re-glued together. Several, but not all, of the decorative brass plates had been attached using brass nails, which were no longer effective at gripping tightly after having been pulled from their original nail holes. The nails were instead replaced with #0 brass screws, making it easier to carefully disassemble the brass pieces in the future while obtaining a firm grip on the respective pieces in the here-and-now. Some of the original brass detail was attached using both flat and rounded head screws, so this was not an anachronistic change.The original nails were retained for the purposes of historic preservation.
Felt was applied to the bottoms of the clock's four feet to help protect the equally ancient clock stand that had been built for it. This is really a non-destructive change as the felt can be easily pulled off from the brass feet and any residual stickiness removed with some alcohol.
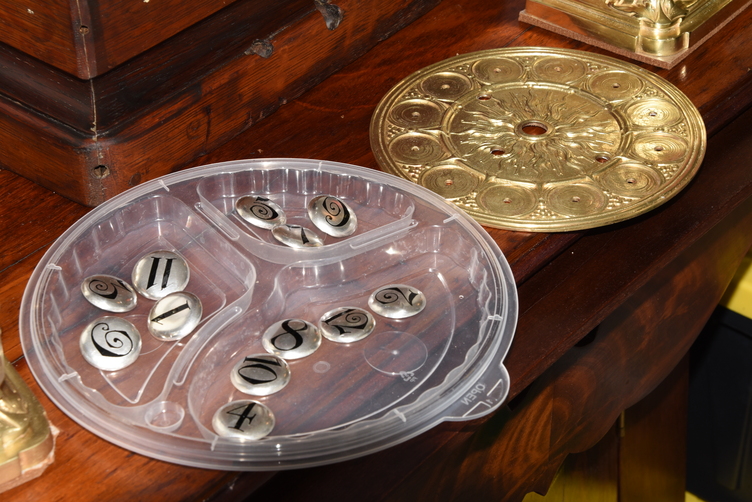
The numbers in the clock face were removed to allow the brass backing plate to be aggressively cleaned. The individual numbers were gently cleaned and polished with the primary intent of avoiding any accidental removal of the paint used for the numbers. The clock face was originally attached with nails that were pushed through corresponding holes in the clock mechanism frame and then bent sideways to prevent them from falling out. That approach had worked but did have the consequence that the clock face was not really held firmly in place and, at the same time, it made it nearly impossible to remove the clock face. The 4 nails were replaced with #0 brass screws screwed into a thin wood backing plate placed behind each of the corresponding holes in the clock mechanism frame. With the potential exception of the area under the wood plates tarnishing at a different rate than the rest of the interior of the clock frame, this is also a non-destructive alteration.
For the most part, reassembly of the clock was a process of building from the bottom upwards, with a few exceptions. The feet went on first:
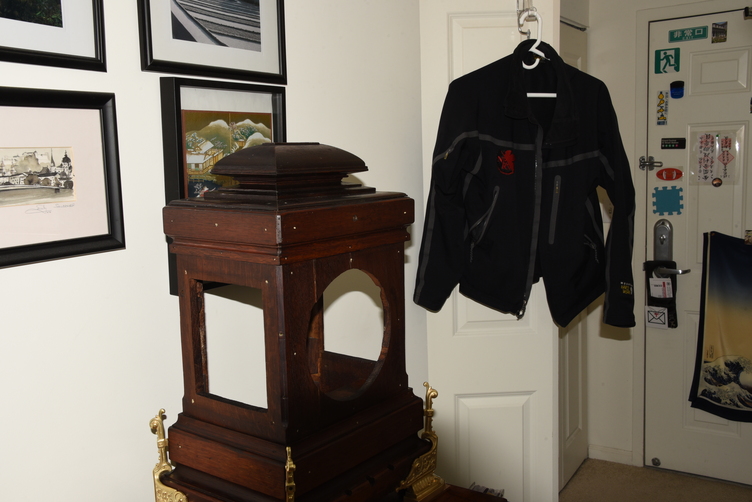
The bottom row trim plates were attached next. The Cherub that dominates the bottom of the clock front needs to go on after the trim plates because the front plate is mounted behind it.
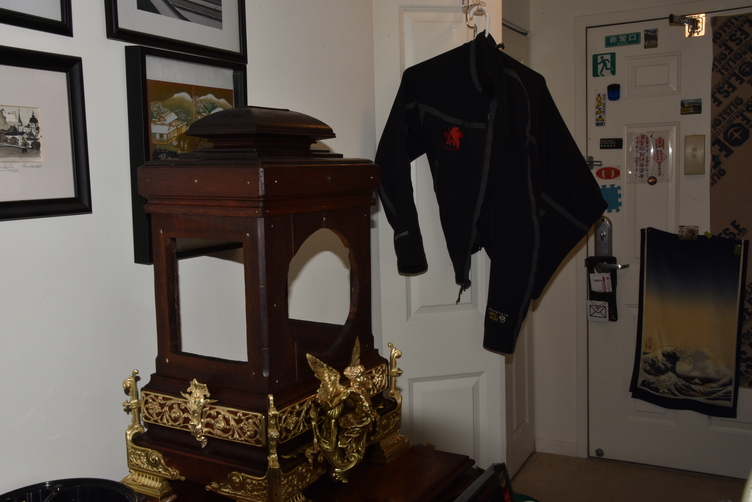
The top trim plates and the "handle" trim for the clock's roof went on next. The "handle" is actually composed of 7 pieces and held in place with 2 square nuts from below. Given that the weight of the clock is more than 50 pounds (23 kilograms), this is really a decoration rather than a true carrying handle.
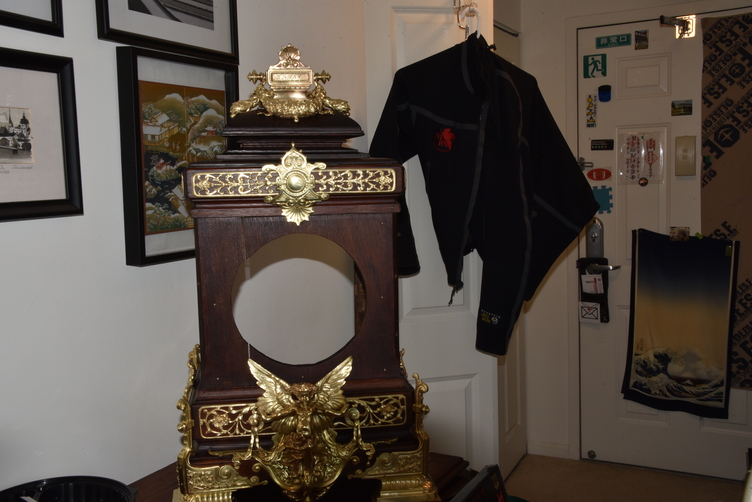
The subsequent step was to attach the front clock frame and the upper and lower detail edge trim bars:
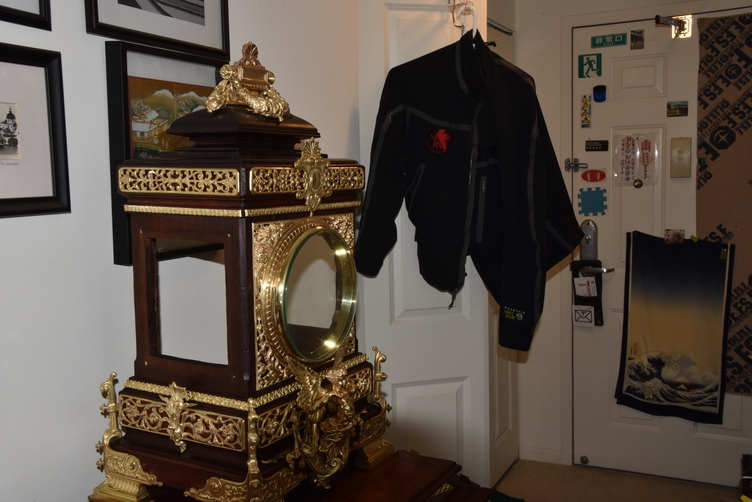
The side panels were the next major pieces to be fitted:
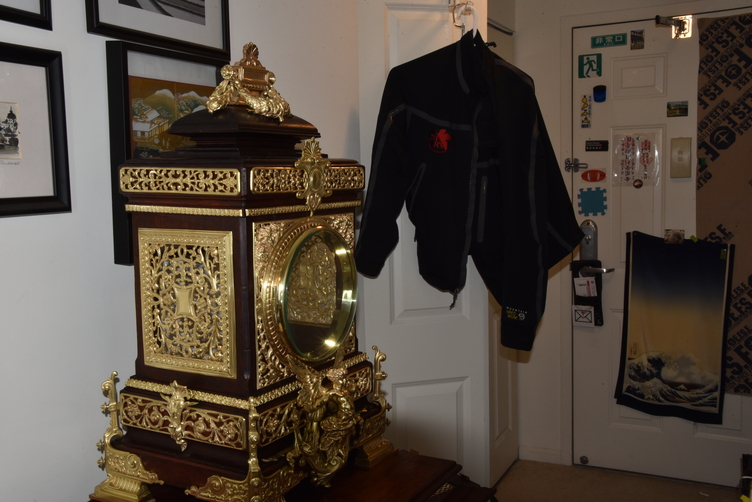
The clock mechanism had to be installed to permit the clock face to be attached. In the picture below, one can make out the off-white cord on the right side of the clock mechanism that triggers the repeater.
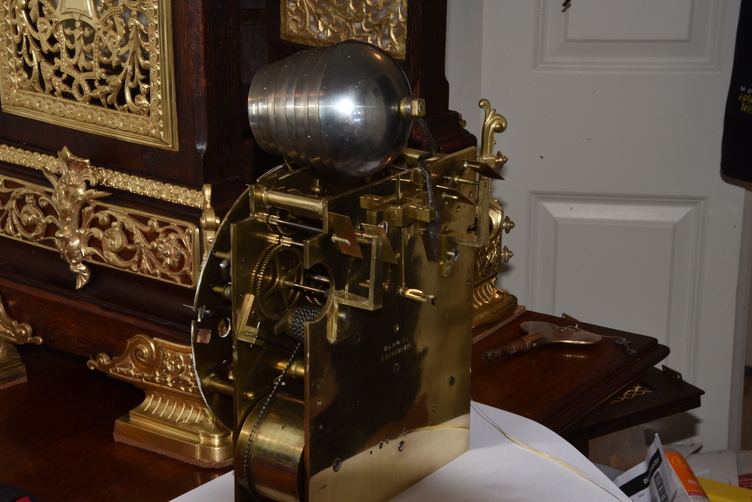
The tuned chimes for the Westminster Quarters and the hourly bell go in behind the clock mechanism. The pole on the left holds the chime (large spring) for the hourly gong and the pole on the right holds a side-by-side stack of the 4 chimes used for the Westminster Quarters:
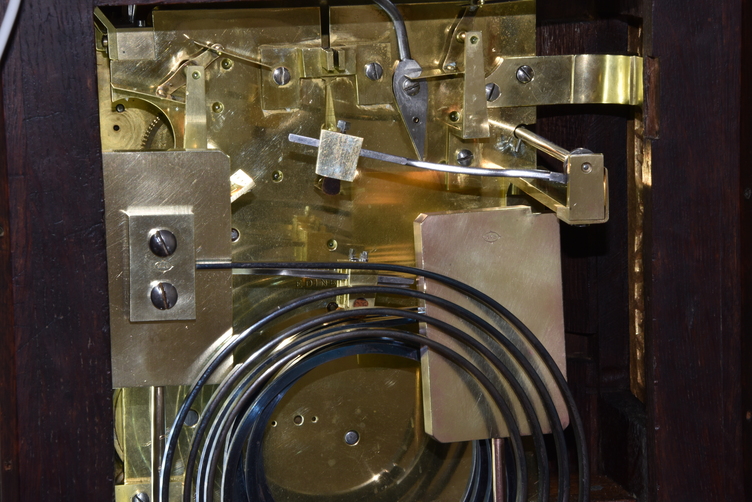
Buttoned up, the back of the clock now appears as:
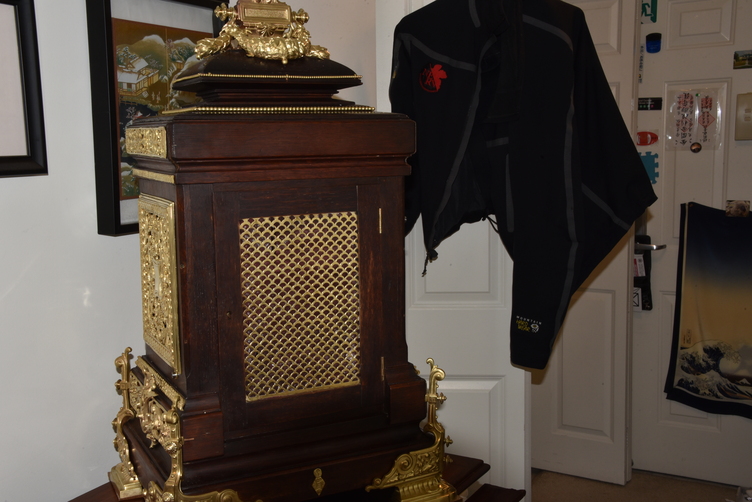
With the brass trim applied to the roof lines and the clock face and hands attached, the front of the clock is almost complete; it is just missing the riser bars that decorate each corner:
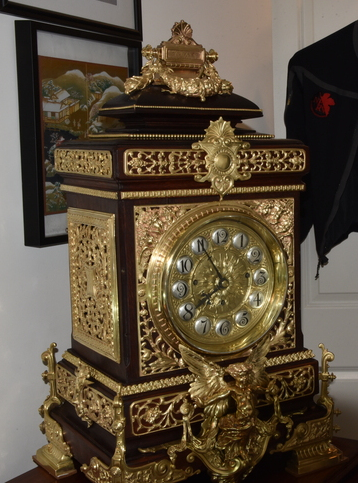
When the corner decorations are attached, the finished clock now appears as:
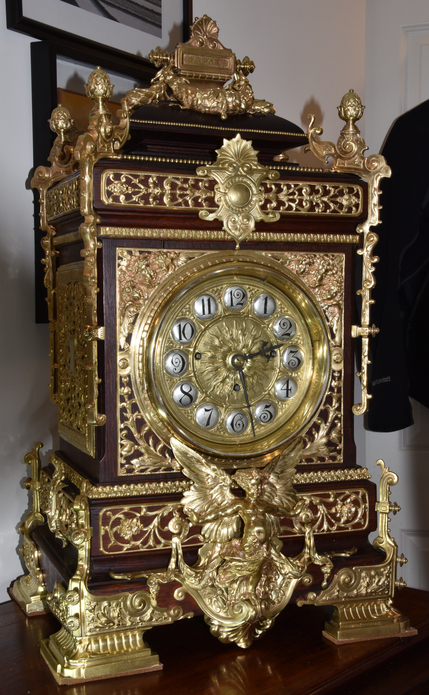
Normally, the clock's chimes are enabled, but they can be disabled through the use of a selector pin located near the 3 digit on the clock face. When the chimes and hourly gong are enabled, the clock has the ability to play either the Westminster Quarters or a version of the 8-bell Whittington Chimes. The choice is made by the position of a selector pin located near the 12 and 1 digits on the clock face. Moving the pin causes a lever to make a very small adjustment in the positioning of the music box drum, either pulling it towards or pushing it away from the front of the clock. Depending on the position, the respective set of pins on the music box drum will drive either the 8 bells in the front or the 4 chime springs in the rear. Both mechanisms are visible in this image looking down into the clock from above and towards the front:

The Westminster Quarters sounds similar to:
The Whittington Chimes sound similar to:
The major piece of not easily repaired damage to the clock has been to its music box drum. Several of the pins used to trigger the bell and chime hammers have broken off and need to be replaced. Some of the pin holes are empty and others still contain the broken stub of the original pin. Drilling through an existing pin stub requires precision to keep the drill bit from wandering under normal conditions. While the empty holes are seductive because they would seem to serve as pre-drilled pilot holes, the problem is that the music box drum is composed of brass, which has a particularly vicious reputation for grabbing drill bits and converting all of the torque of a drill into a devastating screwing action. Typically this yields a catastrophic demonstration of what happens when an irresistible force meets an immovable object. In general, pilot holes are too dangerous for brass. The other unfortunate detail adding complexity is that the drum is hollow, which makes it difficult to get a clean hole once the drill bit has broken through the inner wall.
A 3/64ths diameter brass rod will do the trick as a more robust upgrade over the original pin. Each replacement will have to be brazed into its respective hole, once they are present, but getting those holes drilled will require precision coupled with non-trivial amounts of patience using drill bits that have been ground down to be less aggressive. Since my drill press is in storage, I fabricated a small milling setup:

I reused the hole cut for the front drill mounting bracket to hold the music box drum in the vise.

The clock had been handed down in the family of James W. Arrott, famous for having made the move into bath fixtures and creating the Standard Manufacturing Company after he had immigrated from Scotland and set up shop in Pittsburgh, PA. This Pittsburgh Magazine article from 2018 about the Arrott Building in Pittsburgh provides some details and the picture of the interior gives a hint that they had nice things. Prior to the Great Depression, the family's wealth was driven by the invention of a process to coat castings (think porcelain tubs) expressed in US Patent 1,412,057. My father's sister Allene married Albert E. Arrott, Jr. and, not having any children, I was gifted the clock in their wills. My uncle predeceased my aunt, so technically ownership of the clock and its stand was transferred as a result of an explicit clause in her will but the corresponding clause had also appeared in his.